Sizing and Optimizing Images
A high percentage of websites (even professionally built ones) have images that haven’t been properly optimized.
For this first pass, we definitely want to optimize images when on the home page when there is room to save 500kb or more.
Later on, it’s worth working on the other important pages on the website, but to start we’ll just focus on the home page and situations where there’s more than 500kb in unnecessary bloat.
An exception to this would be if we notice that a site has gigantic images (over 1mb) on their home page – in this case we might choose to look at other important pages right away as this level of bloat will be dramatically impacting performance.
To find these image issues you’ll look in the Top Issues report in GTMetrix and look for warnings to:
- Efficiently encode images
- Properly size images
If you’re looking in the Google Pagespeed Mobile test, you may also be told to
- Serve images in next-gen formats
In general, you’ll see the same offending images reported in GT Metrix and Google Pagespeed. That said, if you fix the ones you’ve identified in GT Metrix and there are still images identified in Google Pagespeed Insights, it may be that the mobile version of the website is leveraging images that weren’t present in the Desktop GT test.
You can pick the list from either GT Metrix or Google Pagespeed to fix, but then be sure to run both tests again after your fixes to make sure there are no additional images to fix.
The most important thing to note is that the value of these tests is in identifying them, not using them to dictate exactly what to do.
For instance:
- Efficiently encoding images will not necessarily mean that they are properly sized.
- Properly sized image may still be unoptimized for encoding.
- Recommendations to fix a file that’s in the wrong format (a PNG when it should be a JPG for instance) can still result in a file that’s massively oversized.
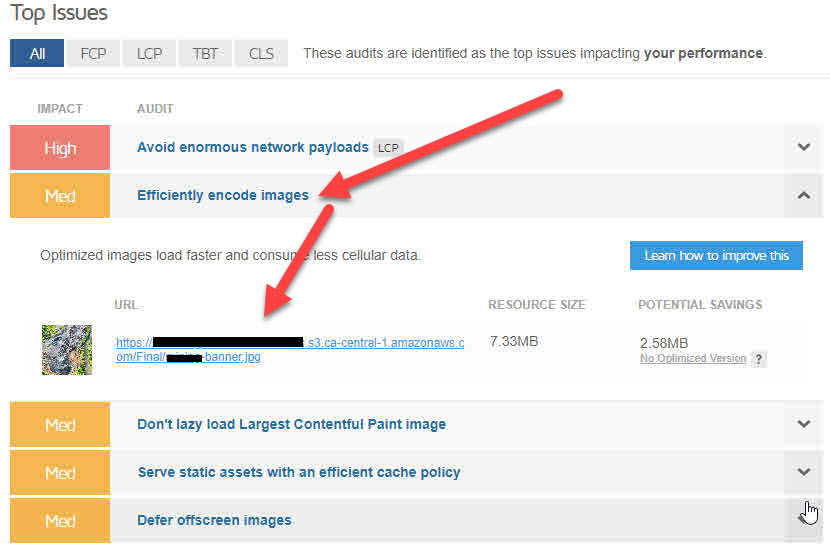
Here’s an example of GT Metrix pointing to a badly encoded image (saved without having been compressed enough. This one is a good example of using the tool to identify the images but not necessarily to accuratetly point out the potnetal overall savings (there’s the opportunity to save over 7mb in size on this gigantic image, not just the 2.58mb shown:

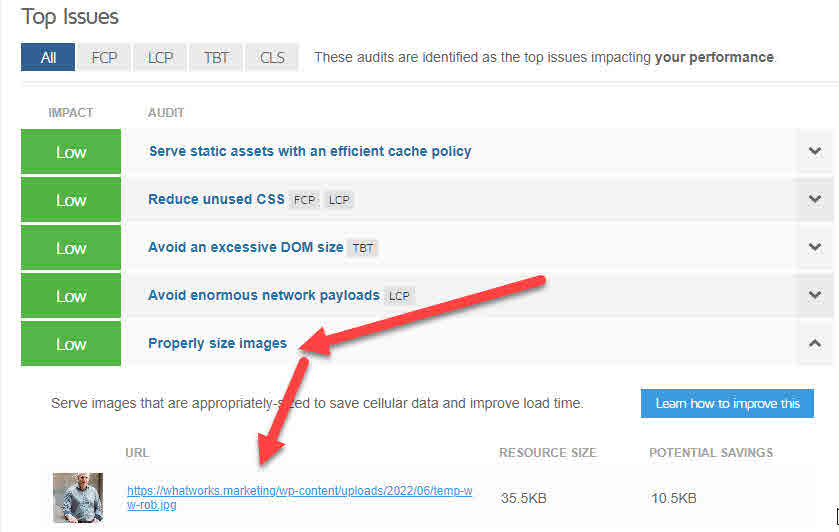
Here’s an example of a warning to properly size an image (noting that we’d not bother optimizing this one as there’s only a 10.5 kb potential savings):

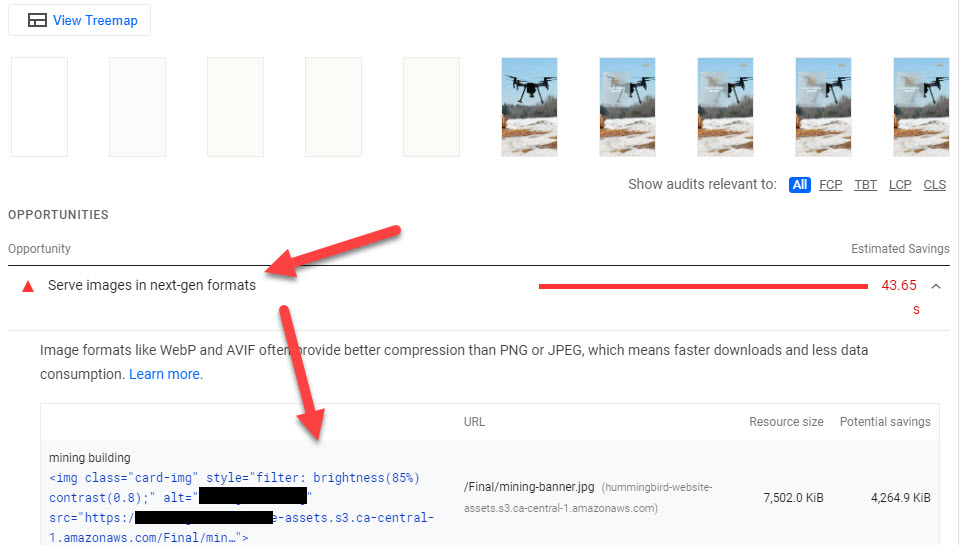
Here’s an image from Google Pagespeed Insights (under “opportunities) showing a warning to serve images in next-gen formats:

Fixing the Images
Some guidelines:
- All images should be sized to the pixel dimensions that they are going to be used at on the page they are placed on. For instance:
– a full width hero image at the top of your home page should be sized to 1900 pixels wide.
– an image going in a column should be sized to the maximium width of the column. - PNG images should be used sparingly. Their only benefit is that they can have transparent backgrounds. This means that if you save your logo as a PNG with a transparent background it can be placed overtop of a colored or shaded background with out an ugly white box happening. For any situations other than this JPG images should be used (unless you’re working in a sophisticated them that allows the use of WEBP or SVG, but we’ll ignore those for now).
- JPEG files are “lossy” which means they lose quality every time you save them. If you are going to experiment with saving multiple sizes or optimizations, create a backup duplicate file to keep and only “save” the new image once after the sizing and/or optimization process.
- As a rule of thumb, not full width image should be larger than 200kb (and likely smaller) and none of the half-width images should be larger than about 100kb (and likely smaller). The exception here is PNGs – they don’t compress at all, which is why their pixel dimension sizing is critical and why you should avoid using the format for larger images.
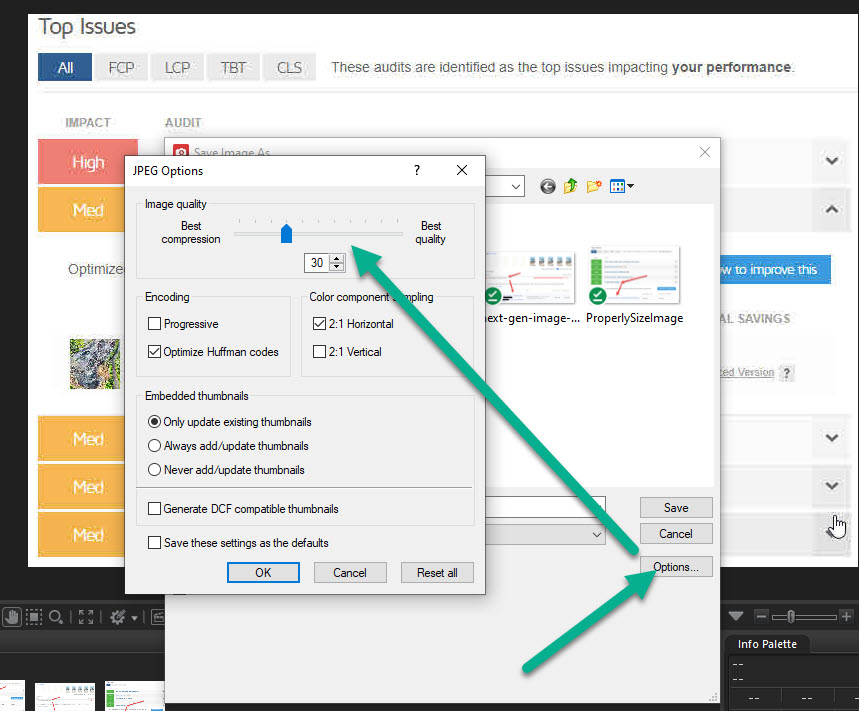
- There are lots of photo tools and editors. Whichever you use you’ll want to experiment with the compression/quality settings to find the setting that compresses the image size as much as it possibly can without compromising the visible quality.By way of example, when I go to save an image in ACDSee Professonal (my favourite mangagement and optimization tool), I’ve found that a setting of 30% usually provides great compession (small files sizes) without affecting quality:

We’ll add some further information about tools and practices down the road.
If you don’t have a tool of choice a couple of good options are:
- ACDSee Photo Studio, if you on a PC and comfortable spending $60 to buy it. It’s efficiency will make it well worth it if you work with lots of images. The Home version will do everything you need for rapidly cropping, resizing and saving optimized images. A free trial is available.
- Canva Pro is a good option for an online editor for these tasks but requires a monthly or annual subscription. A free trial is available.
The above two options noted, most any photo editing software will allow you to crop, resize and compress images.
Overall Process
- Run the GT Metrix test on the website home page.
- Identify if there is 500kb or more of “potential savings” in image size on the home page.
- For now, check in to see what to do next if there is over 500kb in potential savings (ultimately this will involve fixing and uploading the images OR loading up a WordPress image compression plugin. You get a better balance of quality and compression by doing them individually, but on some huge sites the plug-in may make more sense).
- After GT image issues have been addressed, run GT and Google Pagespeed tests again (and repeate image fix process for any remaining oversized images.

